These little crocheted Christmas ornaments are the perfect way to add a handmade touch to your holiday decorations. They work up quickly, making them ideal for last-minute gifts or for decorating multiple trees. The free amigurumi pattern is straightforward, and with a few basic crochet skills, you can create a charming collection of these festive baubles. Yarn and Hook Recommendations For these ornaments, you’ll want a yarn that has a nice body and holds its shape well. Worsted weight cotton yarn is an excellent choice. It’s durable, has a lovely matte finish, and is easy to work with, even for beginners. Brands like Lily Sugar ‘n Cream or Bernat Handicrafter are readily available and come in a wide array of colors. You can also experiment with acrylic worsted weight yarns, but be mindful that some can be a bit splitty, which can be frustrating if you’re just starting out. The recommended hook size will depend on the specific yarn you choose and the tension you naturally crochet with. Typically, for worsted weight yarn, a 3.5mm (E/4) or 4mm (G/6) hook works well for amigurumi, creating a dense fabric that prevents stuffing from showing through. It’s always a good idea to make a small test swatch before you begin. If your stitches look too loose and gappy, try going down a hook size. If the fabric feels too stiff and difficult to work, go up a hook size. Essential Stitch Techniques This pattern relies on a few fundamental crochet stitches. You’ll need to be comfortable with the magic ring (or magic circle) to start the ornament in the round. Following that, you’ll use single crochet stitches exclusively to create the dense fabric needed for amigurumi. Increases and decreases are also key for shaping the ball. If you’re new to these techniques, don’t worry! Many resources online show exactly how to do them. Practicing these basic stitches will set you up for success with this pattern and countless other amigurumi projects. You’ll also need to know how to fasten off and weave in your ends neatly to give your ornament a professional finish.
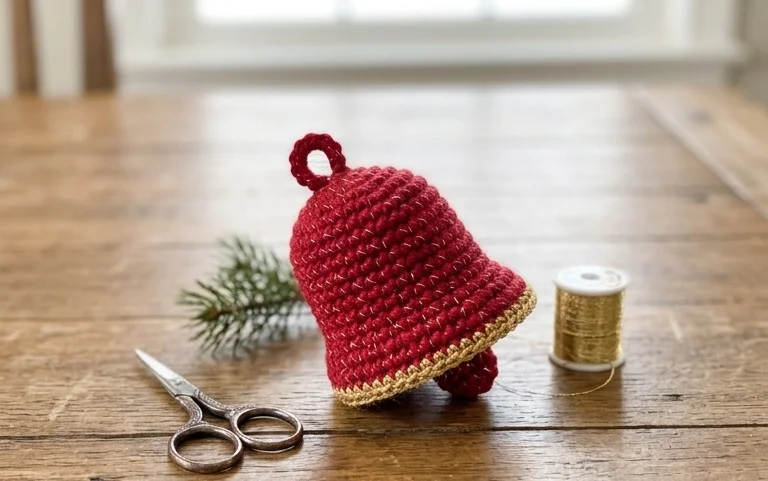
Crocheting Festive Cheer: Your Guide to the Free Christmas Ornament Pattern
These little crocheted Christmas ornaments are the perfect way to add a handmade touch to your holiday decorations. They work up quickly, making them ideal for last-minute gifts or for decorating multiple trees. The free amigurumi pattern is straightforward, and with a few basic crochet skills, you can create a charming collection of these festive baubles.
Yarn and Hook Recommendations
For these ornaments, you’ll want a yarn that has a nice body and holds its shape well. Worsted weight cotton yarn is an excellent choice. It’s durable, has a lovely matte finish, and is easy to work with, even for beginners. Brands like Lily Sugar ‘n Cream or Bernat Handicrafter are readily available and come in a wide array of colors. You can also experiment with acrylic worsted weight yarns, but be mindful that some can be a bit splitty, which can be frustrating if you’re just starting out.
The recommended hook size will depend on the specific yarn you choose and the tension you naturally crochet with. Typically, for worsted weight yarn, a 3.5mm (E/4) or 4mm (G/6) hook works well for amigurumi, creating a dense fabric that prevents stuffing from showing through. It’s always a good idea to make a small test swatch before you begin. If your stitches look too loose and gappy, try going down a hook size. If the fabric feels too stiff and difficult to work, go up a hook size.
Essential Stitch Techniques
This pattern relies on a few fundamental amigurumi stitches. Mastering these will open the door to countless other stuffed toy projects.
- Magic Ring (or Magic Circle): This creates an adjustable loop that allows you to start your amigurumi pieces with no hole in the center. It’s essential for creating closed, seamless shapes. If you find the magic ring tricky at first, you can substitute it with chaining 4 stitches and joining with a slip stitch to form a ring, then working your first round of stitches into that ring.
- Single Crochet (sc): This is the workhorse stitch of amigurumi. It creates a dense, sturdy fabric perfect for stuffed items.
- Increase (inc): This means working two single crochet stitches into the same stitch. It’s used to make your piece grow larger in circumference.
- Decrease (dec): This typically involves working a “decrease in front loops only” (often abbreviated as ‘invisible decrease’ or ‘invdec’). You insert your hook into the front loop of the first stitch, then the front loop of the second stitch, yarn over, and pull through both loops. Then, yarn over and pull through the remaining two loops on your hook. This method creates a neater, less noticeable decrease than simply working two stitches together.
- Slip Stitch (sl st): Used to join rounds and finish off your work.
Tips for Beginners
Don’t let the idea of amigurumi intimidate you! These ornaments are a fantastic entry point into this fun crafting style.
- Use a Stitch Marker: Amigurumi is worked in continuous rounds, meaning there’s no joining slip stitch at the end of each round. A stitch marker is absolutely vital to keep track of where each round begins and ends. Place it in the last stitch of each round.
- Count Your Stitches: It might sound tedious, but counting your stitches at the end of each round is the most effective way to ensure your piece is turning out correctly. If you’ve missed a stitch or made an extra one, you’ll know right away and can often fix it before it causes bigger problems.
- Stuffing Techniques: Don’t overstuff your ornament to the point where the stitches are stretched wide open. Use small amounts of stuffing at a time, pushing it firmly into the shape. You want it firm, but not so tight that the yarn fibers are being pulled apart. Poly-fil is the standard stuffing material for amigurumi.
- Yarn Tails for Assembly: When you finish crocheting the two halves of your ornament, leave a generous tail on one piece. This tail will be used to sew the two halves together.
Customizing Your Ornaments
The beauty of handmade ornaments is that you can make them uniquely yours!
Color Combinations
Go classic with traditional reds, greens, and whites. Or, stray from tradition with pastels for a whimsical look, or even metallics for a touch of glamour. You can also stripe your ornaments by changing colors at the beginning of a round. Simply join the new color and work your first stitch with it.
Size Variations
The pattern can easily be adjusted to create different-sized ornaments. To make a larger ornament, simply continue working more increase rounds before starting the decrease rounds. For a smaller ornament, you might skip an increase round or start decreasing earlier.
Caring for Your Finished Ornaments
These crochet ornaments are quite durable, but some care will help them last for many holidays to come.
- Cleaning: Spot clean with a damp cloth and mild soap if necessary. Avoid submerging them in water as this can cause the stuffing to clump or the yarn to lose its shape.
- Storage: When not in use, store them in a breathable container, like a fabric bag or a box lined with tissue paper. This will protect them from dust and prevent snagging. Keep them away from direct sunlight, which can cause colors to fade over time.
Project Ideas
Beyond decorating your own Christmas tree, these ornaments have endless possibilities.
- Gift Toppers: Attach them to presents for a special, personal touch.
- Stocking Stuffers: A small, thoughtful gift for friends and family.
- Party Favors: Hand them out at holiday gatherings.
- Garlands: String several together to create a charming crochet garland.
- Table Decor: Scatter them on your holiday table for a festive centerpiece.
With this free pattern and a little bit of yarn, you’re well on your way to creating a cherished collection of handmade Christmas ornaments. Happy crocheting!
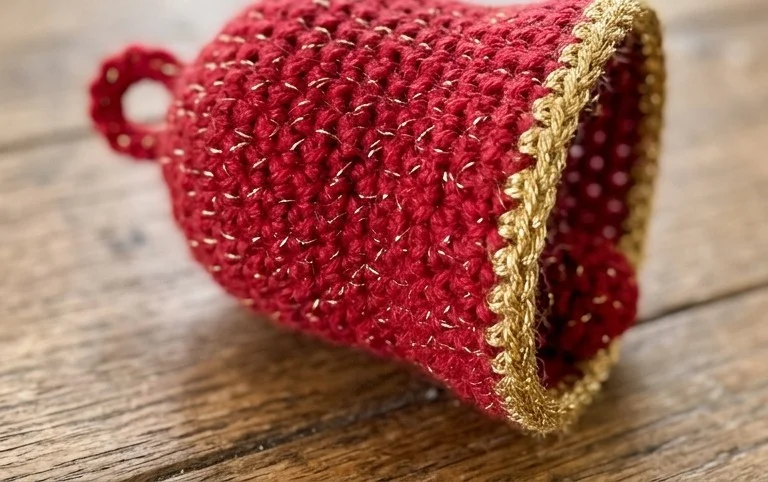
You’ve got all the details now to make your own adorable crochet Christmas ornaments. They really are quick to stitch up and look so charming hanging on a tree or used as gift toppers. Don’t be afraid to play with colors – think bright reds and greens, sparkly gold or silver, or even unexpected pastels. If you’ve enjoyed making these, I hope you’ll share a picture of your finished ornaments on social media and tag me! Seeing your creations makes my day. You can also try making them slightly larger or smaller by adjusting your hook size or yarn weight. This pattern is just the start. For more festive crochet ideas, check out the other free patterns available here.